AirTag Installation Instructions
Important Safety Instructions
Important: Follow all safety instructions and make sure batteries are removed prior to installation.
BE SURE to inspect attachment screws on side of body or depth stop before each use. This tool generates significant vibrations that could loosen screws over time.
Use all necessary safety equipment when using this attachment and an oscillating tool, use both hands for best results. Anti-slip pad can be replaced with high friction tape or rubber gasket if desired.


Remove Shipping Bracket
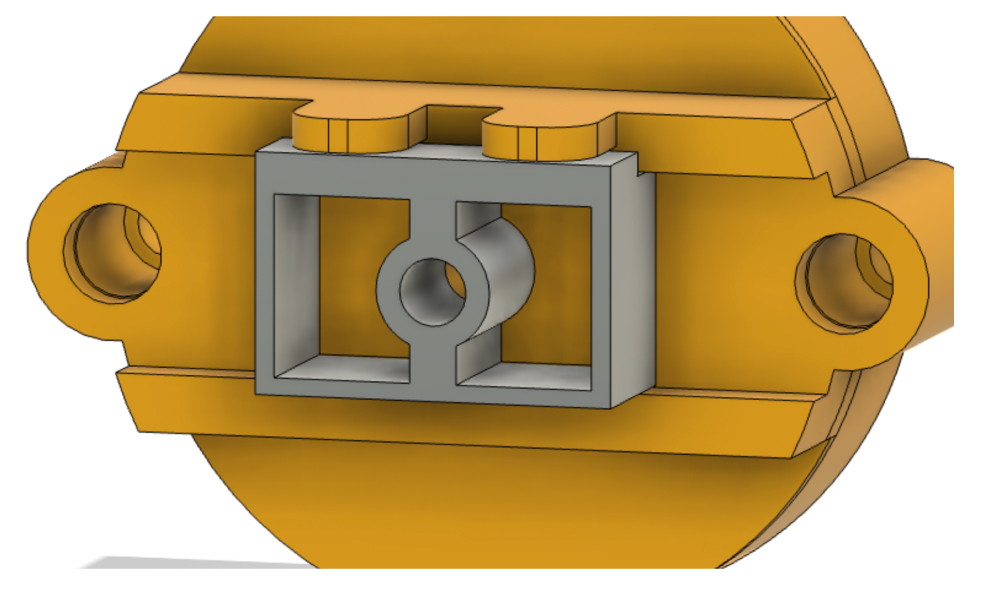
Step 1: Remove the lid by unscrewing lid-bolts. Unscrew center bolt and discard/recycle the shipping bracket on the back. This is to make sure that the alignment tabs don’t break during shipping.

Attach
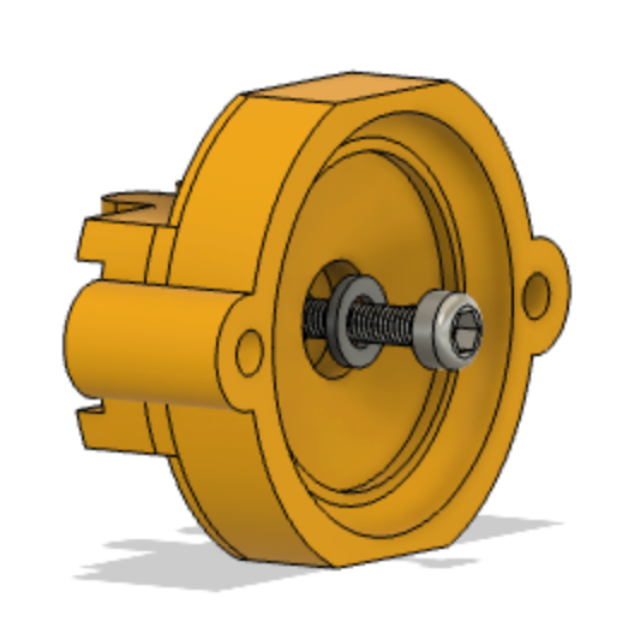
Place AirTag holder on drill (not included) and insert center screw with washer. Tighten screw until the holder is firmly in place.
DeWalt Drills: The two teeth on the back of the back of the holder will help align the holder. These teeth can snap if jostled around, don’t worry the tag holder will still work!

Add AirTag
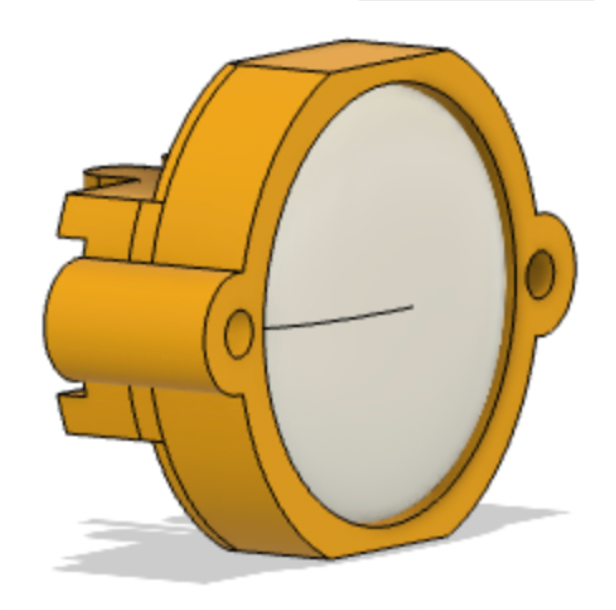
Insert AirTag (not provided). Depending on the base and lid, there might be a very slight gap around the perimeter of the holder - this is ok. These are not water-tight enclosures

Attach Lid
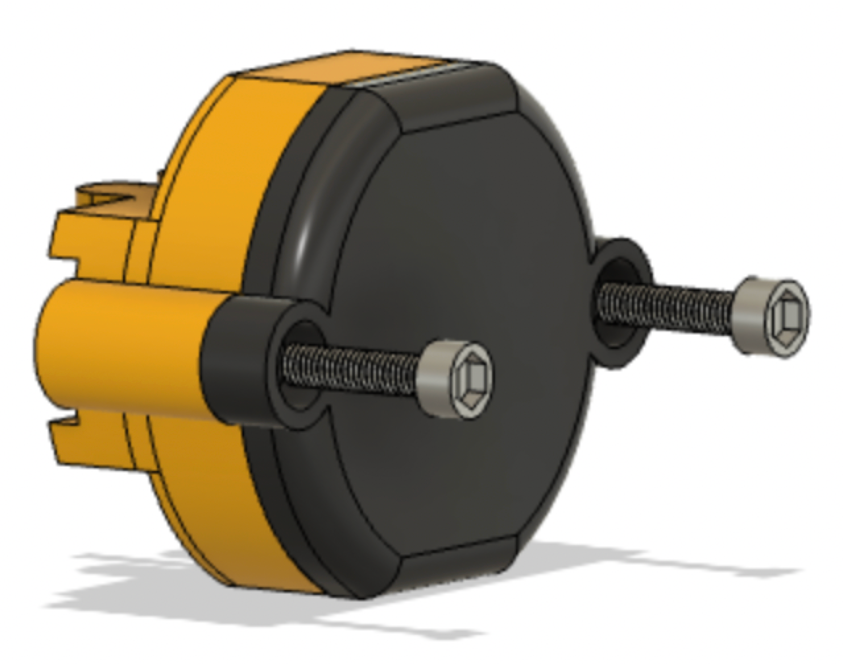
Place lid over AirTag, and screw lid down. The captive nuts will hold the lid in place.
IMPORTANT: DO NOT OVER-TIGHTEN LID SCREWS
Tighten until the lid and the base create a complete seal over the AirTag and the head of the bolts are flush with the lid.
For any questions reated to your order please email orders@thenextgenworksh
TheNextGen Workshop assumes no liability for operator error, installation error, or damages caused while a plunge cut base is attached to tool. Incorrect installation and use could cause injury.
